DIY Simple Chisel Plane
Wooden hand plane aficionados (ambiguity intentional) make much of the fact that they can use words like “frog, cutting angle and throat” with confidence. That confidence is proof that they must be experts! If you add complexity to the activity then great reverence must be assumed. Much is made of achieving chisel cuts at particular angles to fit a wooden wedge of another particular angle to … For me, turning hand planes into an esoteric pursuit is at odds with the primitive simplicities of woodwork.
All this ensures that any reader who has tenacity enough to reach the end of a making chapter will need to re-read several times if they are ever to emulate reverential reproduction of classical technology.
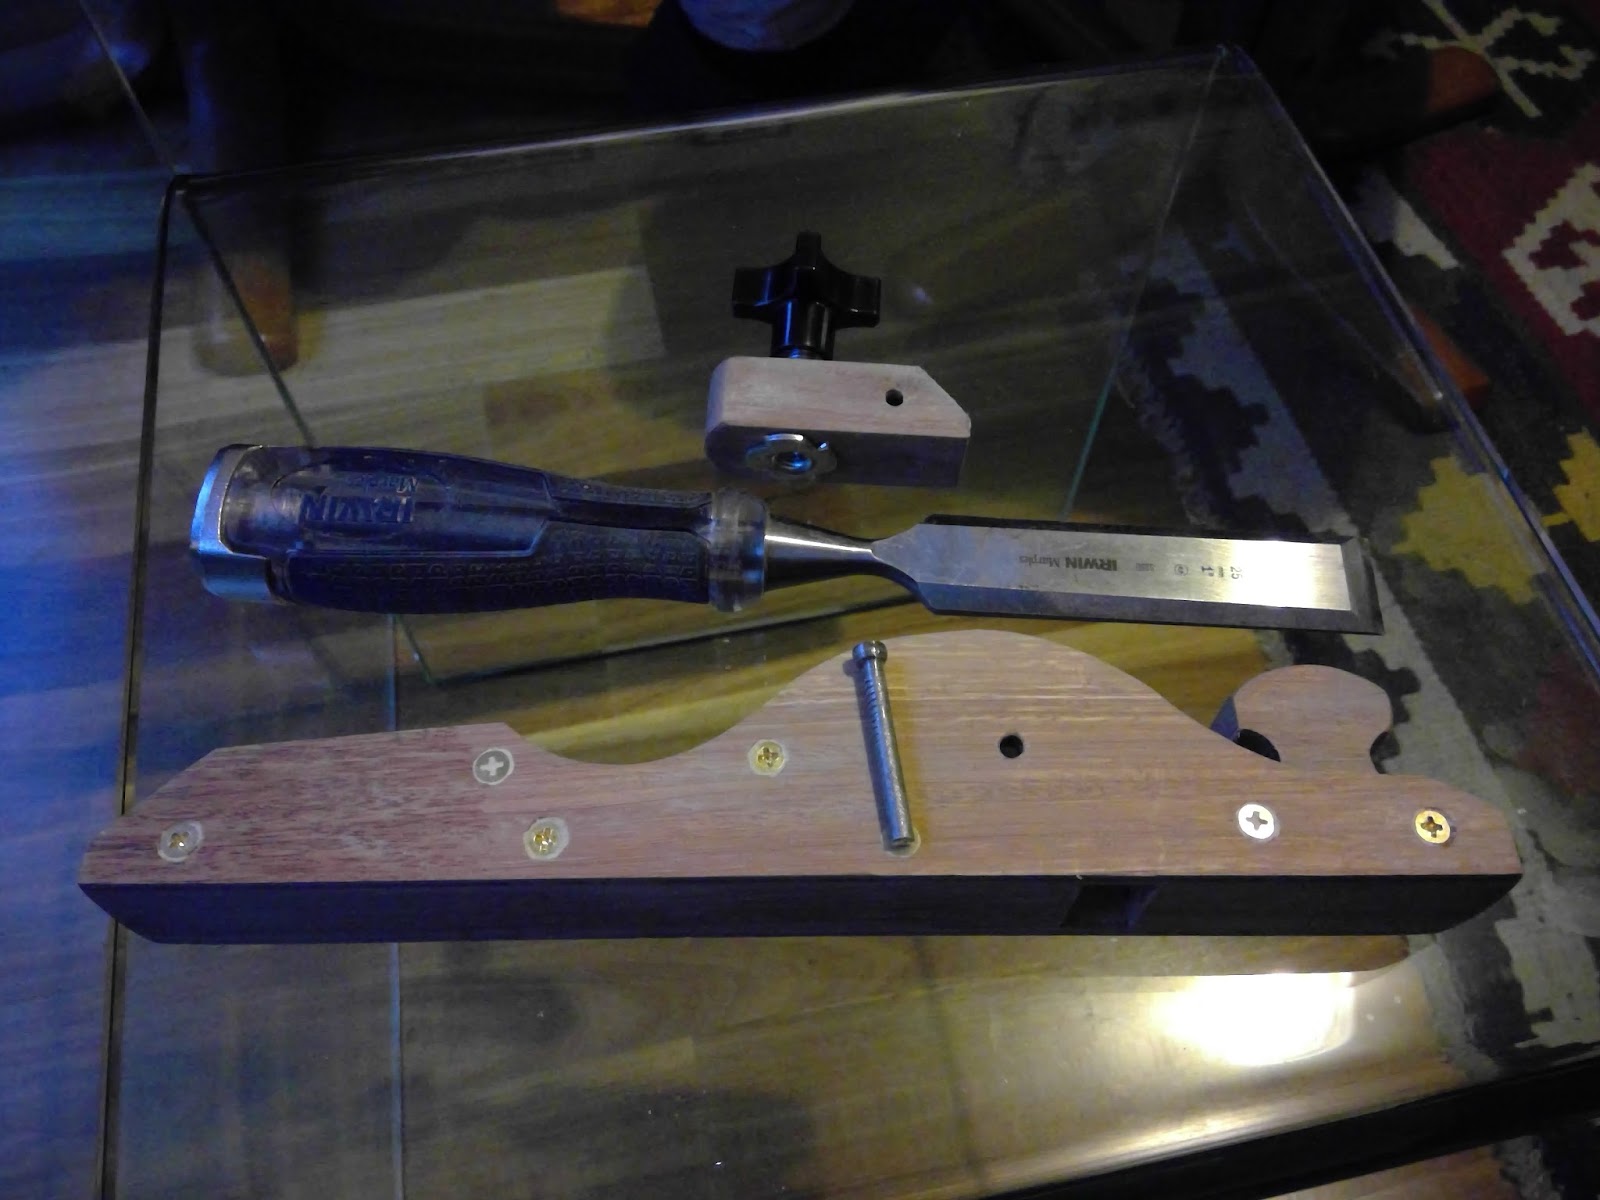
Photographs of my hand plane show a simplified version of a simple tool. Simple, simple. More than anything else, a hand plane presents a cutting edge to a piece of timber at a controlled angle.

For me, these pictures represent a happy game over a relaxed afternoon. The plane’s body is fabricated from pieces of spotted gum. It exploits the enormous strength of modern glue. There are two pieces of ply and three carefully shaped blocks.
Sides
This is hand made ply, 1.5mm sheets glued into three layers. I used epoxy and clamped the layers between gluing blocks protected with baking paper. There is a 24hr wait before you can get to fabrication stage.
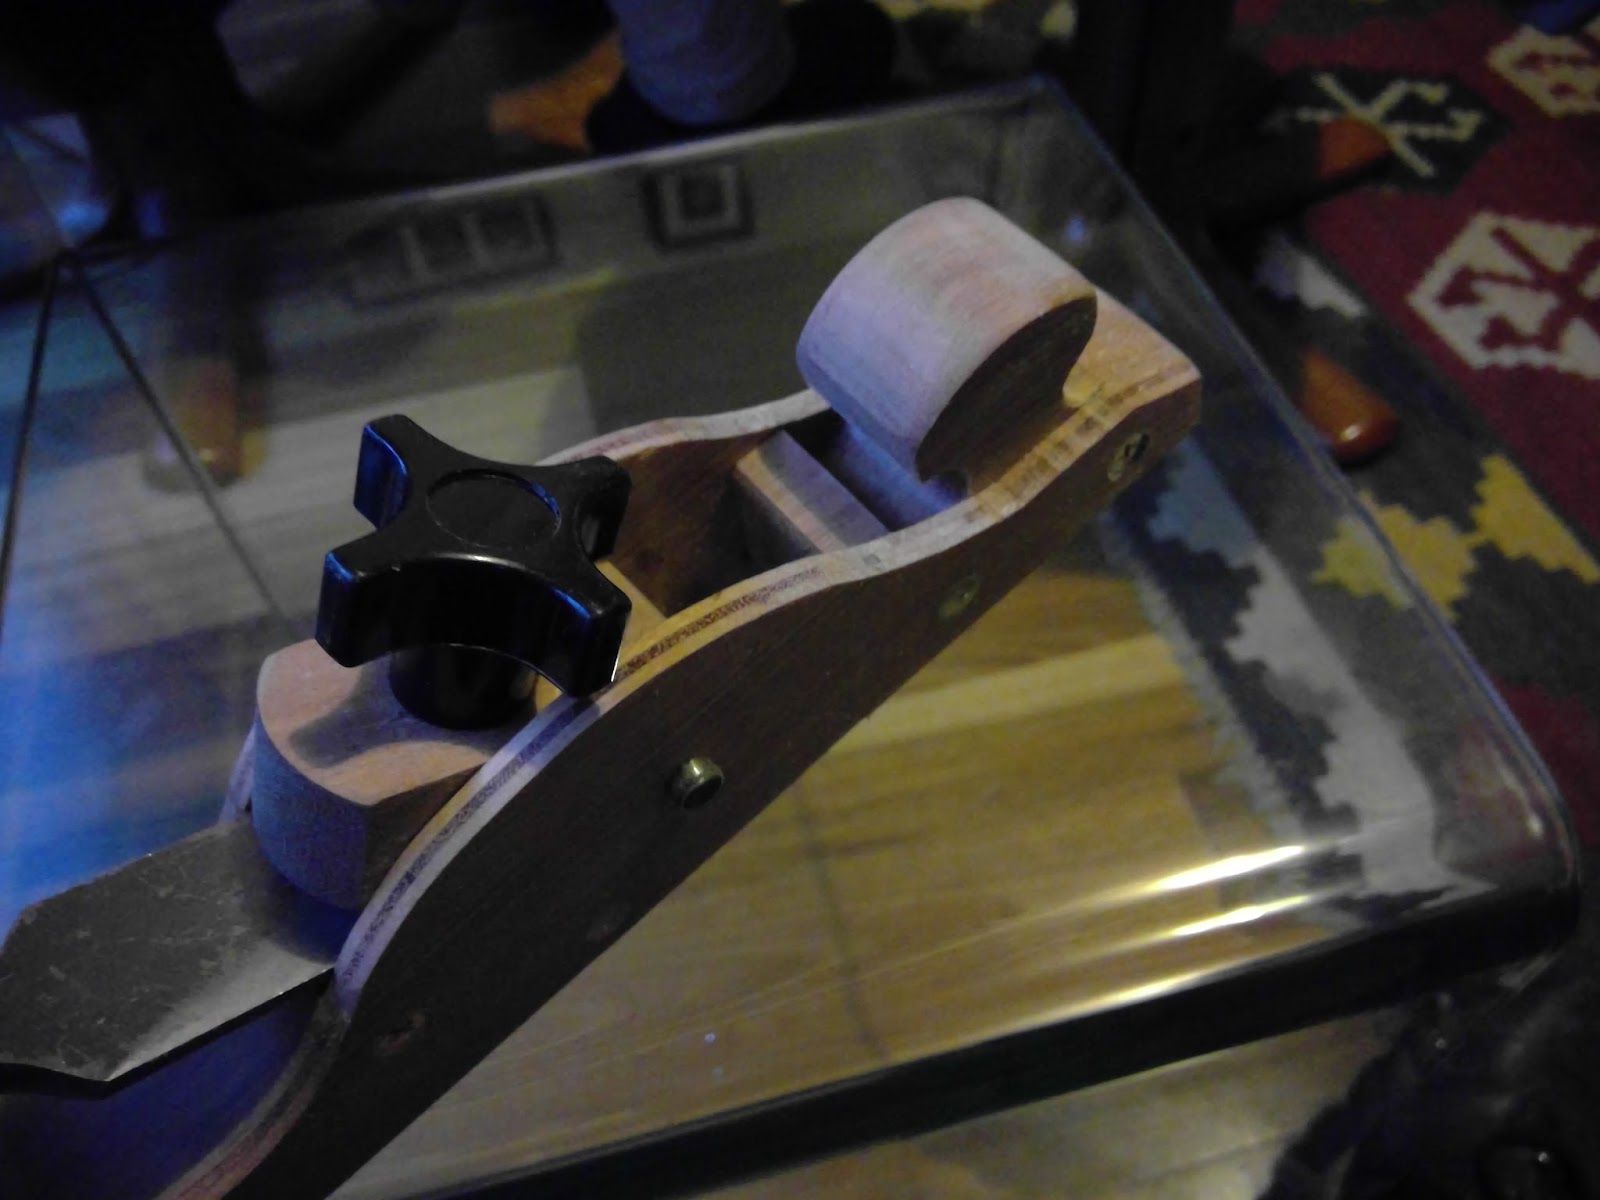
Front Block
Make a shape that will act as a front knob and has an angle that allows shavings to curl upwards behind it.
Back Block
Your blade (chisel) is firmly clamped against this wedge. The angle of the wedge controls the angle at which the cutting edge attacks the timber. Look carefully at the angle to which your chisel has been ground. Sort out the angle of your wedge to enable your chisel’s edge to do its slicing job.
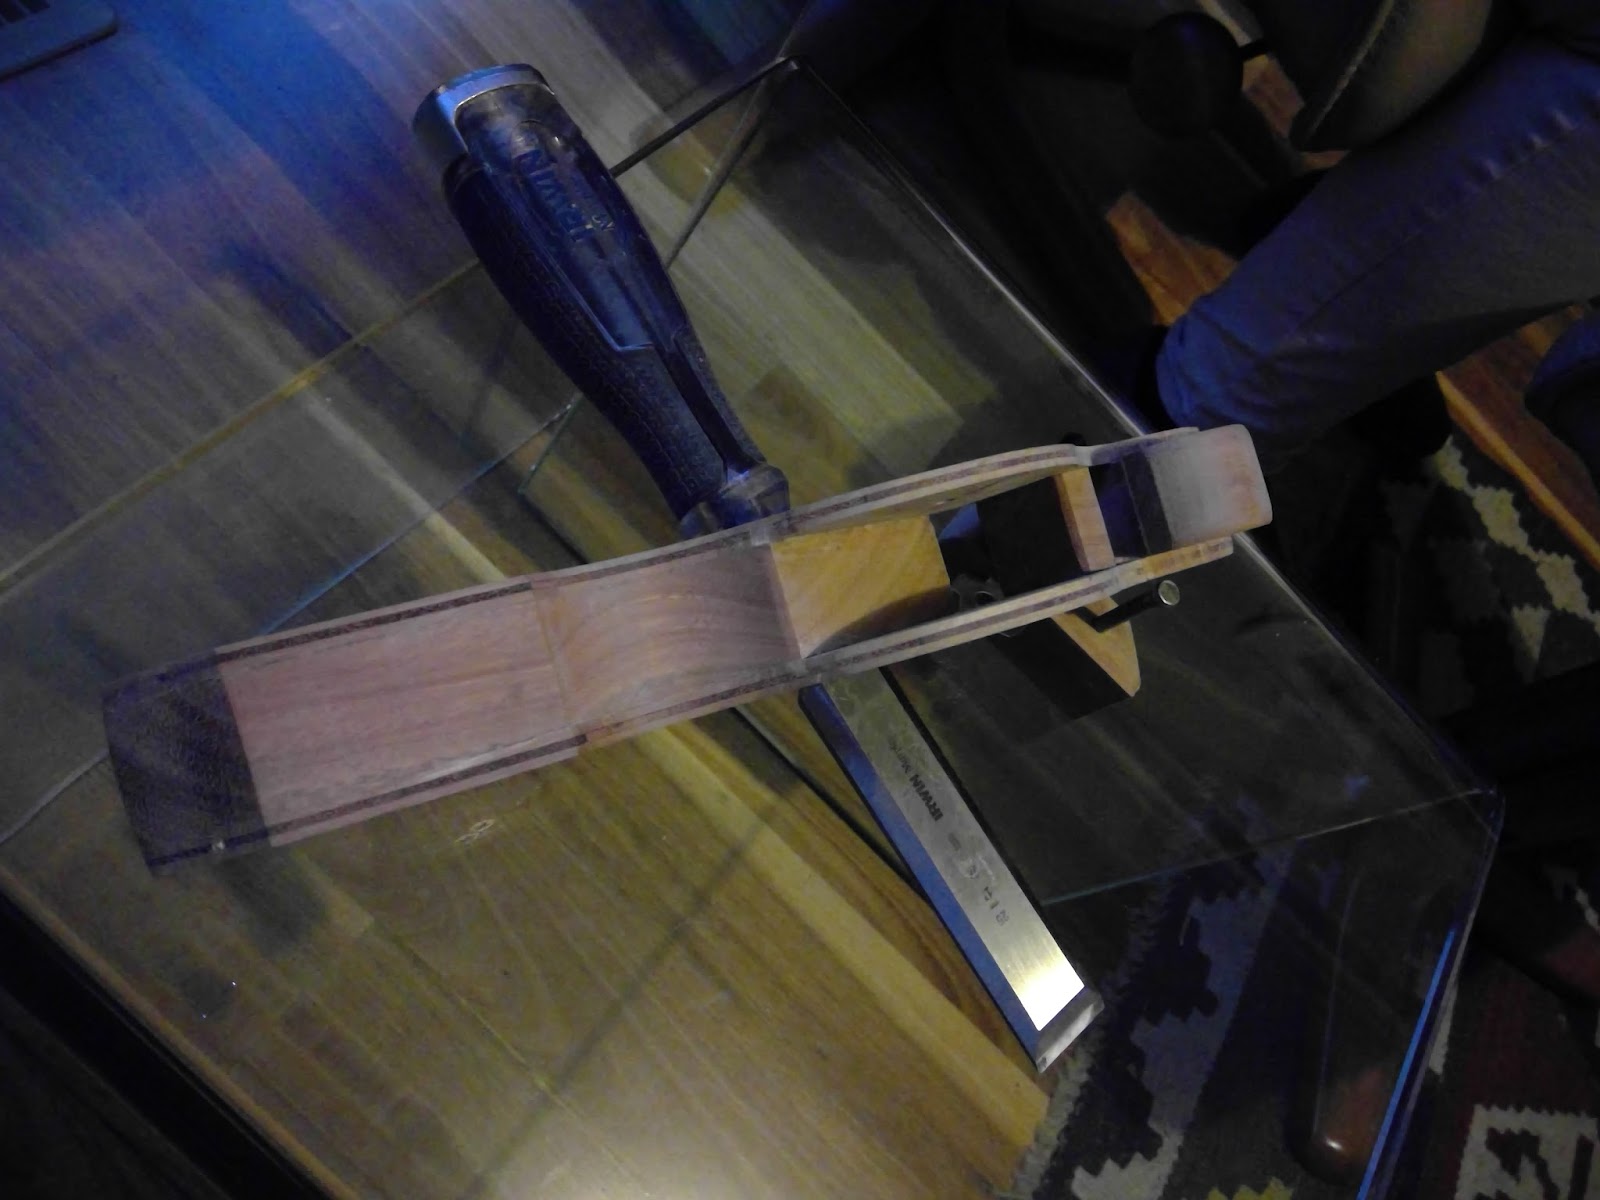
Blade Clamp
The shape of this piece is controlled by space between front and back blocks and the need to drill two holes. One hole takes a T-nut, the other takes a cut nail acting as a pivot point for the clamp.
Hardware
Find a nice fat nail and cut off the point. T-nuts and knob handled threads can be a bit hard to find but any nut can be glued in place with epoxy and a normal bolt can be turned with a spanner. This little piece uses a 25mm chisel, but size could be governed by the size of wood available.
Make It Up As You Go Along
I hope these notes are the opposite to prescriptive. Treat the exercise as a chance to experiment. These little planes are simple; you can make a block plane or a scraping plane. Experiment with angles. This is a good way to learn the theory of planes without being bored. Explore the way wedge (frog) angle interacts with your chisel’s cutting angle, bevel up or down.
Fabrication
It is not necessary to use screws to hold it together. Modern glues are really strong and a bit of careful clamping will suffice. However, this plane was made under pressure of an audience and I needed the body to be stable enough to flatten its bottom (sole).
Can’t Lose
Playing this wood cutting game drives expertise into your experience. It contributes to you being an expert. You will know because you have done it, not because you have googled!!
There is an aficionado out there reading this and scoffing. Yes, I agree, there are many imperfections in this little object. But… if somebody is inspired to explore tools and commit intellectual gymnastics to an empirical exploration, then that is really cool. Making things complicated intimidates people. Let us encourage our woody friends to explore the complications for themselves. Have a go!!!